
Early light makes even a small patch of weeds look like a stage. Dew beads on petals, the air feels cool, and a soft wind keeps everything in motion. It’s the kind of morning that invites you to slow down and notice.
This guide is about photographing wildflowers in a way that’s kind to the plants and the place they grow. You’ll learn how to make stronger photos with choices that cost nothing: where you stand, how you use light, what you focus on, and what you keep out of the frame.
Expensive gear can help, but it doesn’t lead. Small, careful decisions do.
Start with respect, so the flowers are still there tomorrow
Wildflowers feel endless until you see a hillside with a new “social trail” stamped into it. A few shortcuts become a bare stripe. Then the flowers thin out, and the photos get harder, too.
Start by staying on trails when you can. If you step off, spread out your footsteps and avoid fragile ground. Also, don’t pick, bend, or “tidy” a plant for the camera. A stem you straighten might snap later in the day. A bloom you move might not feed a pollinator that needs it.
Protected areas matter here. Some parks allow off-trail travel, while others don’t. Many preserves ban tripods, and some close sections during nesting season. Private land can be amazing, but only with clear permission. When rules feel strict, remember the upside: good habitat stays healthy, and healthy habitat keeps producing good scenes.
Wildlife deserves space, too. Bees, butterflies, beetles, and even ants are part of the story. Give them room to work. If a pollinator keeps circling a bloom, don’t block its approach. You’ll often get a better photo by waiting anyway.
The best wildflower spots stay good because people treat them like a shared garden, not a set.
How to find wildflowers without loving them to death
Scouting doesn’t need to be invasive. First, look along the edges of paths and in open gaps where light falls in. Next, pay attention to slope and moisture. After rain, small blooms can pop up fast, especially in sandy soil or open pine flats. In contrast, shaded woods might bloom later but last longer.
Local nature groups and park updates can help you time your visit. Bloom reports are useful, but be careful with rare species. It’s fine to share a general area, but skip exact GPS pins for sensitive plants. Crowds can crush the very thing they came to see.
A simple pack list keeps you comfortable and reduces clumsy moves around plants:
- Water and a snack: Hunger makes people rush and step carelessly.
- Kneeling pad or small foam mat: Saves knees and keeps you stable.
- Bug spray and/or head net: Comfort helps patience.
- Microfiber cloth: For lenses and phone cameras.
- Small trash bag: If you pack it in, pack it out (and maybe one extra wrapper).
Working with wind, bugs, and other real-world challenges
Wind is the main opponent in wildflower photography. Instead of grabbing a stem, use your body as a windbreak. Crouch upwind and let your shoulders block the gusts. Then wait for lulls. Wind often arrives in pulses, like waves.
Bugs can be a gift and a distraction. If bees are active, keep your movements slow and predictable. Avoid strong scents if you can. Also, check your frame edges, because a bright wing or moving shadow can pull attention away from the flower.
Health stuff matters, too, because discomfort leads to sloppy choices. If you deal with allergies, pack what you need. In tick country, wear long socks and do a check afterward. Sun protection helps even on cloudy days, since you’ll spend more time facing upward light.
Choose light and backgrounds that make petals glow
Before you set a single camera setting, look at the light. It controls mood more than any lens. Soft light can make petals look like stained glass. Hard light can carve bold shapes. Neither is “right,” but each has a cost.
Overcast skies are friendly because they act like a giant softbox. Colors stay rich, and shadows don’t turn harsh. Golden hour adds warmth and depth, especially when the sun skims low across a field. Shade works well, too, as long as you watch for cool color casts from nearby leaves.
Backlight is worth learning early. Backlight means the light comes from behind your subject. It can make petals glow from within, but it also raises the risk of blown highlights. That’s why exposure control matters. Pale petals, like white or light yellow, lose detail fast. If your camera has a highlight warning, use it. If it doesn’t, lower the exposure a bit and check the preview.
Exposure compensation is the quick fix. If the flower looks too bright, dial in negative compensation. If your scene is mostly dark greens and the camera underexposes, add a little positive compensation. Keep it gentle. Small moves often look more natural.
The easiest light for beginners, and when to break the rule
Cloudy-bright days are training wheels in the best way. You can work fast, and the light won’t punish small mistakes. Details in petals, veins, and pollen stay clear. As a result, you’ll spend less time “saving” a photo later.
Still, harsh sun can work when you want a graphic look. Midday light can create strong shadows that emphasize shape. In that case, simplify your composition. Look for a single bloom against clean ground or for repeating patterns across a slope.
To manage harsh light, shift your position first. A small step left can move a bright patch out of the background. You can also use your own shadow to shade the flower, as long as you don’t block all the life from the scene. Early and late sun is easier, so if you can choose your hours, start there.
Simple background tricks that instantly look more “pro”
Wildflowers rarely fail because the subject isn’t pretty. They fail because the background fights the subject. Luckily, backgrounds respond to footwork.
Lower your camera and change your angle. Step sideways until the flower sits against something calm. Also watch for bright specks, since tiny highlights can pull the eye more than the bloom does.
A wide aperture can blur a background, but distance often matters more. If the flower is close and the background is far away, you’ll get a soft blur even at moderate apertures. On the other hand, a nearby twig stays sharp no matter what you do.
Natural backdrops help a lot. Distant leaves can become a smooth green wash. Sand can turn warm and clean. Water can soften into a simple color, especially at an angle. When you find a background that behaves, hold onto it like a good sentence.
Settings and techniques for crisp details, dreamy blur, or both
Wildflower photography works on a phone, a DSLR, or a mirrorless body. The key is deciding what you want: crisp detail, soft blur, or a mix of both. Once you choose, settings fall into place.
Focus is the first choice. Single-point autofocus helps when your subject is still. Manual focus can feel slower, but it’s steady for close work. Either way, aim your focus where it counts. For many flowers, that’s the nearest stamen edge or the front rim of the petal.
Depth of field is the second choice. A wide aperture (like f/1.8 to f/4) gives dreamy blur, but it can slice a flower into a thin band of sharpness. A smaller aperture (like f/8 to f/11) keeps more of the bloom sharp, although backgrounds get busier. You don’t need to memorize numbers. Just remember the trade: more blur means less in focus.
Stability is the third choice. Even with steady hands, close-up work magnifies shake. If your shutter speed drops too low, details smear. Wind makes that worse, so don’t be shy about raising ISO. A slightly grainy, sharp photo beats a clean, soft one.
A simple recipe for sharp petals (even when you’re handholding)
When you want a clear, detailed flower without a tripod, use this simple approach:
- Pick one bloom that looks healthy and open, with space around it.
- Set the focus to a single point, then place it on the nearest important detail.
- Choose a shutter speed that matches the wind. Start around 1/500 in breezy conditions, then adjust.
- Raise ISO until exposure looks right, because sharpness matters more than low noise.
- Steady your stance: elbows in, slow breath out, then press the shutter gently.
- Shoot short bursts if the flower moves, because one frame often lands in the lull.
Image stabilization helps, but it can’t freeze a moving petal. If tripods are allowed and you have time, use one for careful compositions. A monopod can help, too, especially on slopes.
Also, try a ground-level view. Kneel, lower your camera, and let the flower rise against distant color. That small change can turn a casual snapshot into something that feels intentional.
When to use a macro, and how to fake it without a macro lens
Macro means you can focus very close and record fine detail. Pollen grains, tiny hairs, and petal texture start to matter. That’s the fun part. The hard part is that the depth of field gets very thin, so focus mistakes show fast.
If you don’t have a macro lens, you still have options. Here’s a quick comparison that keeps expectations realistic:
| Option | Best for | Main downside |
|---|---|---|
| Macro lens | Highest detail and best sharpness | Cost and weight |
| Extension tubes | Close focus with your current lens | Less light, slower handling |
| Close-up filter | Simple and light to carry | Softer edges on cheaper models |
| Phone macro mode or add-on lens | Easy field use and quick sharing | Focus can hunt, highlights clip |
Whatever you use, watch your shadow. When you get close, your body can block light. Shift your angle, or use open shade. Stopping down a little (for example, from f/2.8 to f/5.6) can also give you more usable sharpness.
Try focus stacking for still days and studio-like detail
Some mornings feel almost silent. When the air settles and the flower holds still, focus stacking can give a clean, detailed look that a single frame can’t.
Focus stacking means taking several photos, each focused slightly deeper into the subject. Later, you blend them so more of the flower stays sharp. In the field, a tripod helps a lot. Set your exposure, lock it in, then take a short series while changing focus in small steps.
Keep it simple. Start at the nearest detail, then move focus toward the back. Use enough frames to cover the flower, but don’t overdo it. If wind picks up, stop and switch back to single shots. Moving petals can create messy blends.
Turn a good capture into a finished photo that still feels real
Editing should feel like rinsing dust off glass, not repainting the scene. Wildflower photos can go strange fast. Greens can take over. Magentas can turn electric. Highlights can lose all texture.
Start with small corrections that support the moment you saw. Straighten first, then crop. A good crop gives the flower breathing room, or it presses in close for intimacy. Either choice can work, as long as it feels honest.
Next, set exposure. Pull highlights down to recover petal detail. Lift shadows a little if the image feels heavy, but keep some depth. Then adjust white balance. If shade turns everything too blue, warm it slightly. If sunset light turns petals too orange, cool it back a touch.
Texture and clarity tools are tempting. Use them like salt. A little brings out veins and pollen. Too much makes petals look crunchy. Sharpen lightly, and avoid sharpening the background if you can.
After that, handle distractions with care. A bright stick behind the bloom can ruin a calm frame. Sometimes a tighter crop solves it. Other times, gentle spot removal helps. Keep it minimal. The goal is a clean image, not a plastic one.
If your edit makes the flower louder than it felt in person, ease back a step.
Organization helps your work age well. Name files by date and location, then add a short note, like “overcast” or “backlit.” Months later, you’ll remember what light you loved, and you’ll find it again.
A quick edit flow for natural color and clean detail
A simple order keeps you from chasing your tail. Straighten and crop first, because composition affects everything. Then adjust exposure, recover highlights, and lift shadows a little. After that, set white balance, add mild contrast, and apply a light touch of texture. Finish with gentle sharpening.
If petals start to look neon, reduce the saturation slightly or lower the intensity of that one color. When backgrounds feel too bright, darken them a bit so the flower leads. Save small spot fixes for last, like dust specks or tiny bright dots.
Printing wildflower photos so the colors don’t fall flat
Wildflowers belong on paper. A print slows you down, and it reveals whether your colors feel real.
Paper choice changes the mood. Matte papers soften glare and feel quiet, which fits delicate petals and pastel light. Luster or satin papers hold deeper blacks and stronger color, so they work well for bold blooms and dramatic light. Glossy can look sharp, but reflections can distract on a wall.
Soft proofing can help if you print often, because screens glow while paper reflects light. When you prepare a file for print, watch the greens first. Foliage can overpower the flower if it gets too saturated. Pull green saturation back a little, or nudge it warmer, so petals keep their place.
For wall art, size matters less than intention. A small print can feel precious, like a pressed flower in a book. A larger print can feel like stepping into the field. If you make a set, keep the light consistent across images so they hang together easily.
Conclusion
Strong wildflower photos come from a calm order: respect first, then light, then background, then focus and settings, then gentle edits. Once you work that way, your images start to feel less like trophies and more like textured memories.
Go back to the same patch across the season. Notice how rain changes the color, and how morning shifts the angle of glow. On your next walk, pick one tip from this guide and try it on purpose, then jot down what light and angles worked best. The flowers will keep teaching, as long as we let them.
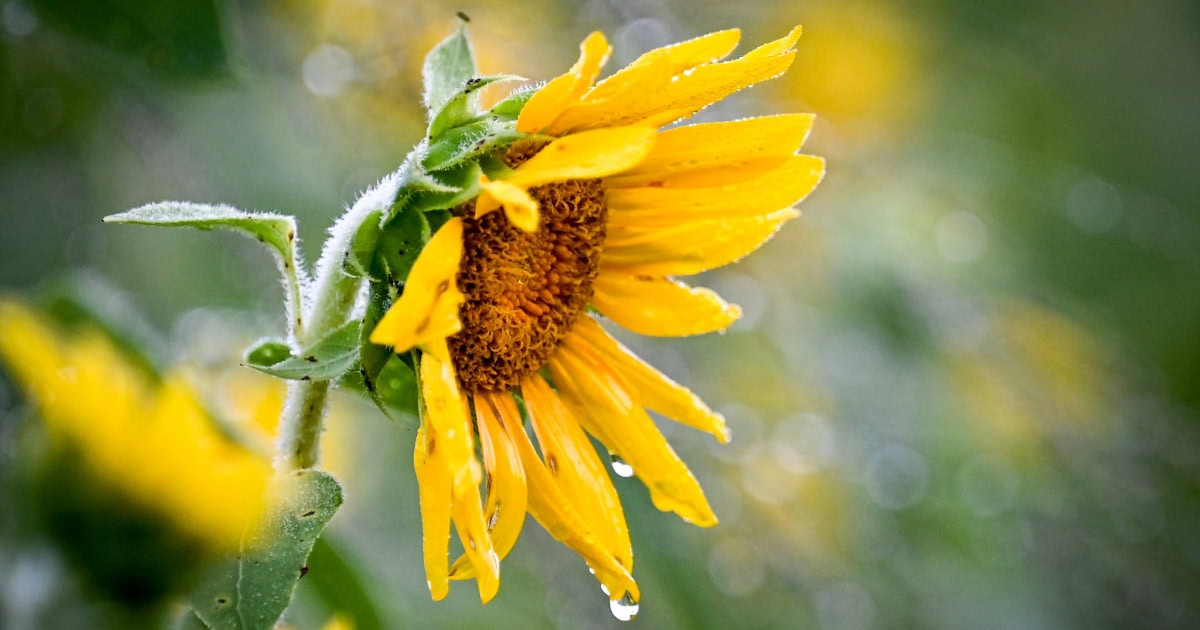
Photo credit: Sunflower after the rain- Teton Valley, Idaho